DIY Golf Bag Repair Guide 2026: Fix Tears, Seams, Straps, and More
Table of Contents
Why DIY Golf Bag Repair Makes Sense in 2026
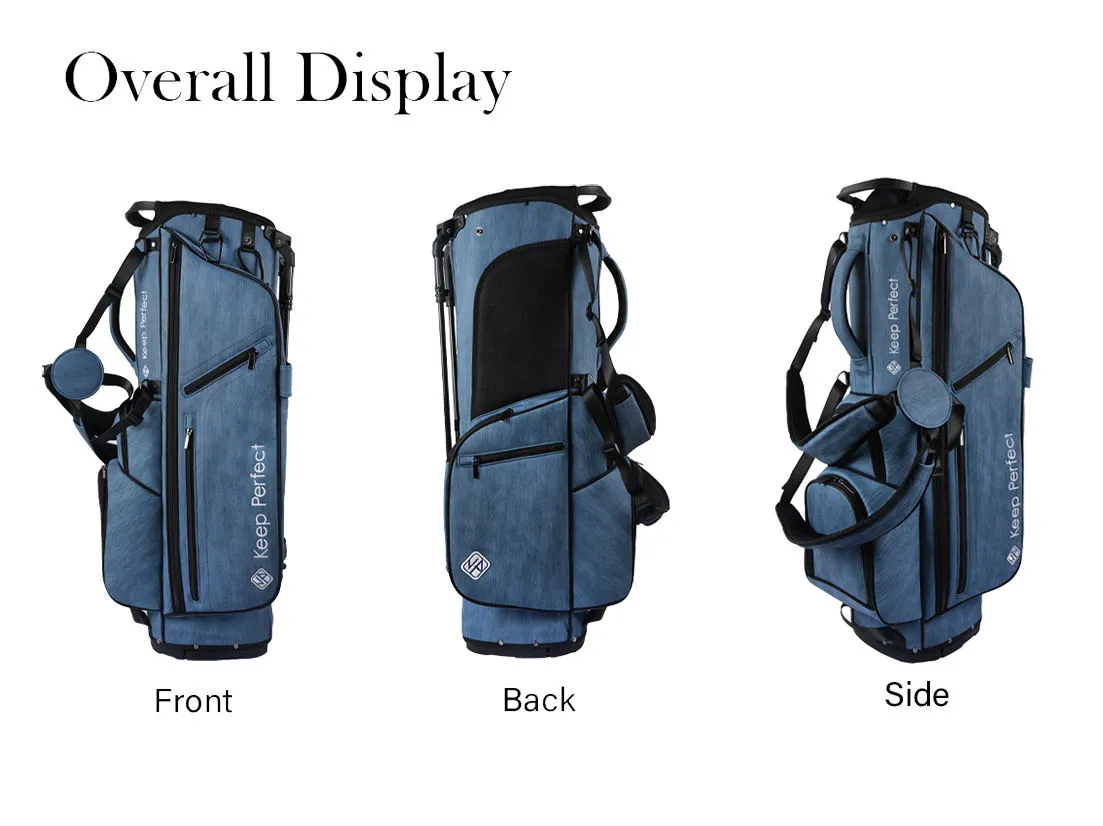
Golf bags endure extraordinary physical demands throughout their service life, carrying the weight of fourteen clubs plus accessories across varied terrain, through changing weather conditions, and under the constant mechanical stress of loading, unloading, standing, and transportation. It is simply inevitable that even the highest quality golf bag will eventually develop wear issues requiring repair, from fabric tears and seam separation to strap failure and base plate damage. In 2026, with premium golf bags representing significant investments ranging from two hundred to well over a thousand dollars, knowing how to perform common repairs yourself extends your bag's useful life considerably while saving substantial money compared to professional repair services or premature replacement. The DIY repair approach aligns with the growing sustainability consciousness in the golf community, where extending equipment life through maintenance and repair is increasingly valued over disposable consumption patterns.
At our manufacturing facility, where we produce over 200,000 golf bags annually and have deep expertise in golf bag construction, materials science, and repair techniques across every bag type we manufacture, we have compiled the most comprehensive DIY repair guide available from a manufacturer's perspective. Our unique position as a producer gives us insight into exactly how golf bags are constructed, which materials are used in each component, and what repair techniques produce the strongest and longest-lasting results. We have tested repair methods extensively in our quality control laboratory, evaluating the tensile strength, flexibility, and durability of various repair approaches to determine which techniques deliver professional-quality results that golfers can achieve at home with basic tools and materials.
This guide covers the full spectrum of common golf bag repair scenarios, from simple fabric patches to complex seam reconstruction, organized by repair type with detailed step-by-step instructions, material specifications, and quality checkpoints that ensure your repairs match the original construction quality as closely as possible. Whether you are a weekend golfer with basic sewing experience or a seasoned equipment manager responsible for maintaining a fleet of bags, the techniques described here will equip you to handle virtually any repair challenge your golf bag presents over its service life.
Essential Tools and Materials for Golf Bag Repair
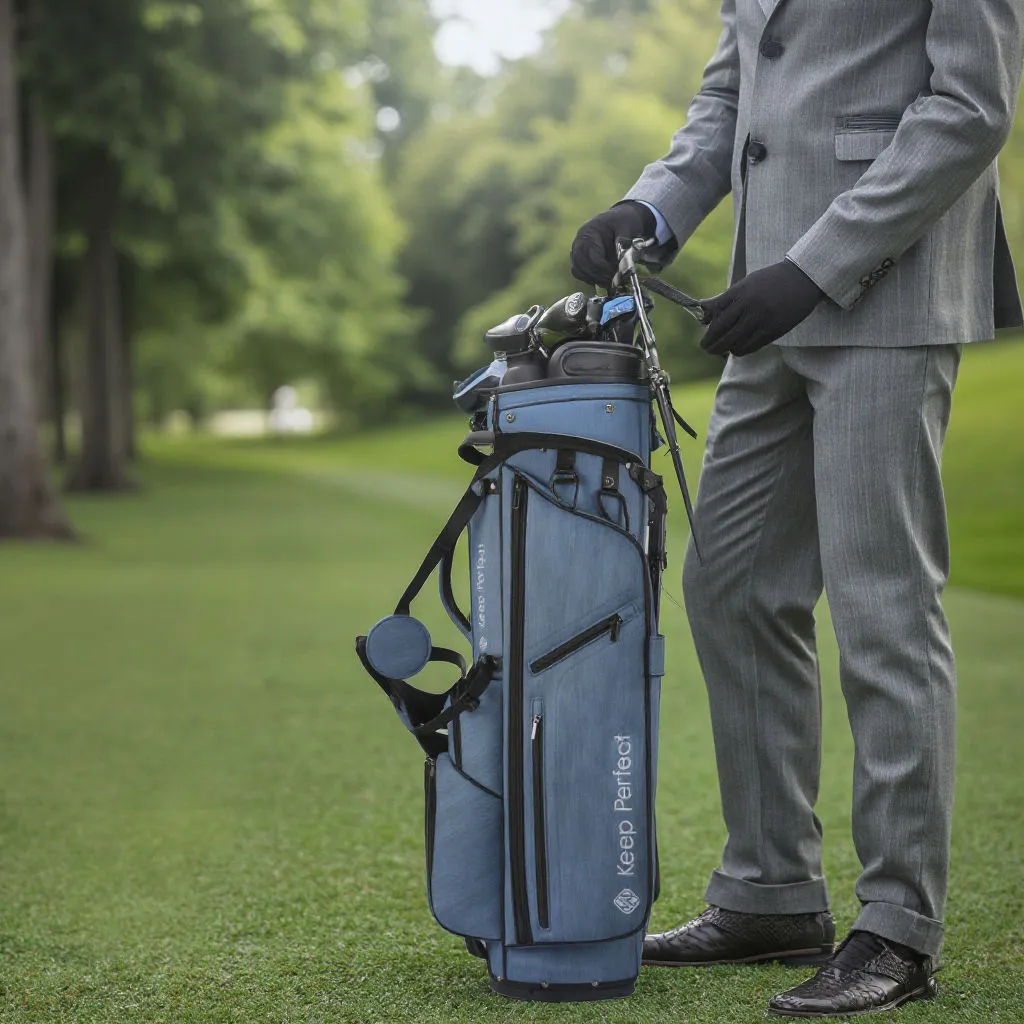
Successful golf bag repair begins with having the right tools and materials assembled before you begin any project. Attempting repairs with improvised or inappropriate tools produces substandard results that may fail quickly, potentially causing additional damage that complicates or prevents proper repair later. Investing in a well-equipped repair kit costs relatively little and pays for itself with the first repair you perform yourself rather than paying a professional.
Sewing Equipment for Structural Repairs
A heavy-duty curved needle designed for leather and thick fabric work is essential for hand-sewing golf bag repairs. Standard sewing needles bend or break when penetrating the multiple fabric layers and backing materials used in golf bag construction. Curved needles allow you to stitch through tight spaces and around corners that straight needles cannot reach. Equip yourself with bonded nylon or polyester thread rated at Tex 40 or heavier for structural repairs on load-bearing seams and attachment points. Standard cotton thread lacks the tensile strength required for golf bag materials and will break under the stress of regular use, creating repeated failure points that frustrate and waste time. For machine-sewing repairs where feasible, use a heavy-duty needle such as a size 110 or 120 and matching heavy-duty thread to ensure stitch integrity matches the repair demands.
Additional sewing essentials include sharp fabric scissors for clean cuts, a seam ripper for removing damaged stitching before re-sewing, thimbles to protect your fingers when pushing needles through thick material layers, and binder clips or sewing clamps to hold materials in position during sewing operations. A sewing awl is invaluable for punching clean holes through multiple fabric layers before inserting the needle, reducing the force required and preventing needle breakage on tough materials.
Adhesives and Patching Materials
Not all golf bag repairs require sewing. Adhesive-based repairs provide effective solutions for specific applications where sewing is impractical or where the repair location does not experience high structural stress. Gear Aid Seam Grip or comparable flexible fabric adhesives bond effectively to nylon, polyester, and canvas fabrics commonly used in golf bag construction, maintaining flexibility after curing to withstand the bending and flexing that golf bag materials experience during normal use. Self-adhesive nylon repair patches in various colors provide quick and effective coverage for small tears and holes, creating a waterproof seal that prevents further fabric deterioration while restoring the bag's appearance.
For larger repairs requiring both adhesive bonding and fabric reinforcement, iron-on ripstop nylon patches create durable repairs that blend visually with the original bag fabric when color-matched appropriately. Heat-activated adhesive films provide bonding strength approaching that of sewing for applications where the repair will not experience extreme tensile loads. Always clean the repair area thoroughly with isopropyl alcohol before applying any adhesive to remove surface contaminants that compromise bond strength, and follow the manufacturer's recommended cure times before subjecting the repair to stress during use.
Repairing Torn Fabric and Holes
Fabric tears and holes are the most visible and common form of golf bag damage, occurring when the bag contacts sharp objects, experiences excessive stress at stress concentration points, or simply wears through from years of abrasion against golf cart surfaces, ground contact, and club movement within the bag. The repair approach depends on the tear size, location, and the stress the repaired area will experience during normal use.
Small Tears Under One Inch
Small tears in non-structural areas can often be repaired effectively using adhesive-backed nylon patches without any sewing. Clean the area around the tear thoroughly with isopropyl alcohol and allow to dry completely. Cut a repair patch at least one inch larger than the tear on all sides, rounding the patch corners to prevent them from peeling up during use. Apply the patch over the tear, pressing firmly from the center outward to eliminate air bubbles and ensure complete adhesive contact. For maximum bond strength, place a heavy object over the patched area for twenty-four hours while the adhesive cures fully. On areas visible from the exterior, choose a patch color that closely matches the bag fabric for the most discreet repair result.
Large Tears and Holes Requiring Sewing
Larger tears, particularly those along seam lines or in high-stress areas such as pocket openings and strap attachment zones, require sewn repairs for lasting durability. Begin by trimming any frayed fabric edges to create clean lines for the repair. Cut an interior patch from heavy-duty nylon or canvas material at least two inches larger than the damaged area on all sides. Position the patch behind the tear and secure with fabric clips or temporary adhesive spray. Using your curved needle and heavy-duty thread, sew around the perimeter of the tear with tight, closely spaced stitches that capture both the original fabric and the repair patch. For maximum strength, use a zigzag stitch pattern that crosses the tear edges multiple times, creating a reinforced repair that distributes stress across a wide area rather than concentrating it along a single stitch line.
Repairing Mesh Fabric Panels
Many golf bags incorporate mesh fabric panels for ventilation, weight reduction, or visual appeal. Mesh repair requires a different approach because the open weave structure does not provide the same repair surface as solid fabrics. For small mesh tears, apply a flexible fabric adhesive around the torn edges and press the mesh together carefully, then reinforce with a small patch of matching mesh on the interior. For larger mesh damage, cut out the damaged section entirely and sew in a replacement mesh panel using the original stitching holes as a guide for your needle placement, maintaining the same stitch pattern and spacing as the surrounding original construction for a professional-quality result.
Fixing Separated and Broken Seams
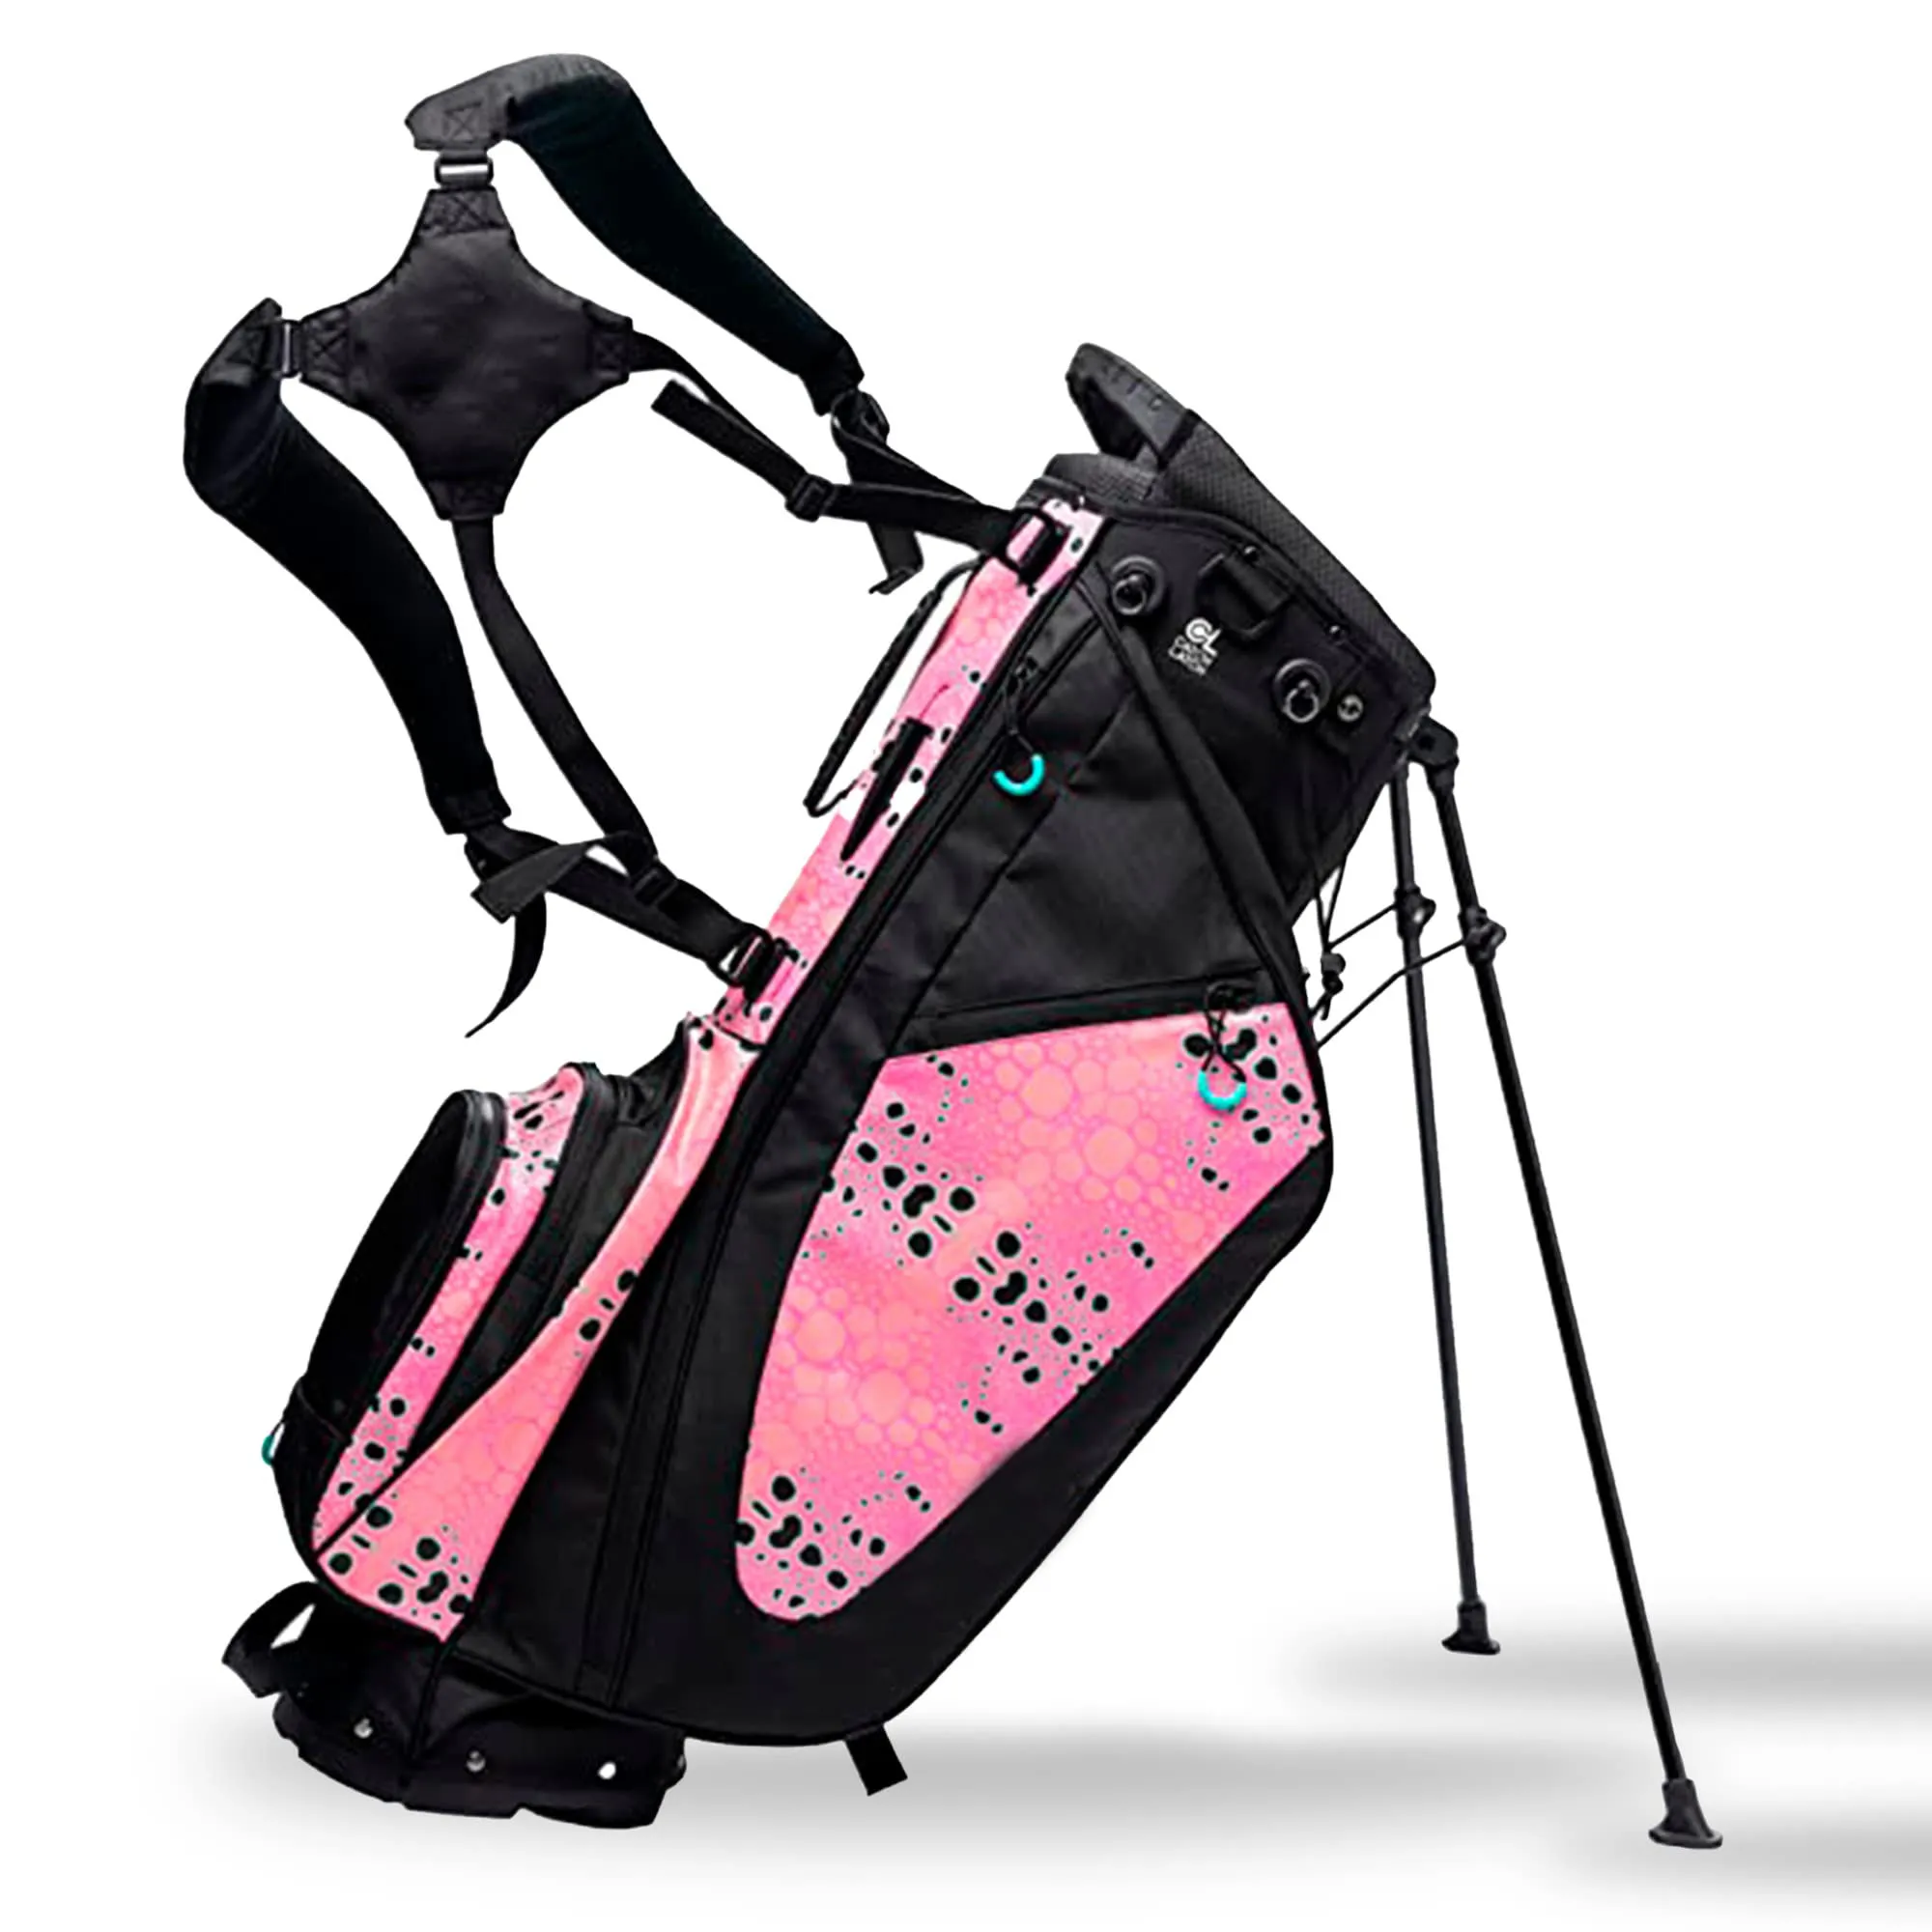
Seam failure is among the most structurally significant repairs needed on golf bags, as seams bear the primary loads during carrying, lifting, and the constant weight of clubs and accessories pressing against the bag structure. A failed seam that goes unaddressed rapidly propagates as adjacent stitches experience increased stress from carrying the load that the failed stitches previously supported, creating a cascading failure that can render an otherwise serviceable bag unusable within a short period.
Identifying and Assessing Seam Failures
Examine the failed seam carefully to understand the scope of the damage and determine the appropriate repair approach. Seam failures typically occur in three patterns: thread breakage where individual stitches snap while the fabric remains intact, fabric tearing along the stitch line where the needle holes have created a perforation that allows the fabric to tear under stress, or adhesive seam failure where bonded seams separate as the adhesive degrades over time. Thread breakage in otherwise intact fabric is the simplest to repair and produces the strongest results. Fabric tearing along stitch lines requires reinforcement with a fabric patch to prevent recurrence. Adhesive seam failure requires removing all old adhesive residue before re-bonding or converting to a sewn repair for greater reliability.
Re-Sewing Techniques for Maximum Strength
When re-sewing a failed seam, follow the original stitch holes precisely to avoid creating new perforations that weaken the fabric. Use heavy-duty bonded nylon thread and a curved needle appropriate for the fabric thickness. For load-bearing seams, employ a box-stitch or double-back stitching pattern that creates multiple thread paths across the seam, ensuring that if any individual stitch fails, the remaining stitches maintain the repair integrity. Apply consistent tension to each stitch to prevent puckering or uneven stress distribution across the repair. After completing the seam repair, run a lighter along nylon thread ends to melt and seal them, preventing unraveling during use. For critical load-bearing seams on strap attachments and handle connections, add an interior fabric reinforcement patch that spreads the load across a wider area of the bag structure.
Repairing and Replacing Shoulder Straps
Shoulder straps and carry handles experience some of the highest stress of any golf bag component, bearing the full weight of the loaded bag during transport. Strap failures at attachment points are common and potentially dangerous if the bag falls during carrying, possibly damaging clubs or causing personal injury. Prompt repair of any strap issues should be prioritized over less critical cosmetic repairs.
Reinforcing Strap Attachment Points
Strap attachment points fail when the stitching that secures the strap to the bag body tears through the fabric or when individual stitches break under repeated load cycles. The repair requires removing any remaining damaged stitching, assessing the fabric condition at the attachment point, and re-attaching the strap using a reinforced stitching pattern that distributes the load more effectively than the original construction. Use a box-stitch with an X pattern inside the box, creating multiple load paths that prevent single-point failure. Add a large interior fabric patch behind the attachment point to distribute the strap load across a wider area of the bag body, reducing the stress concentration that caused the original failure. This reinforcement approach typically produces a repair that is stronger than the original factory construction, as you can add material that the original design may have omitted for cost or weight considerations.
Replacing Strap Padding and Hardware
Strap padding compresses and deteriorates over time, reducing carrying comfort and creating pressure points that cause shoulder fatigue during walking rounds. Replace worn padding by carefully cutting the strap open along an inconspicuous seam, removing the deteriorated foam, and inserting replacement closed-cell foam cut to the original dimensions before re-sewing the strap closed. Replace worn or corroded buckle hardware by cutting the old buckle free and attaching a replacement using heavy-duty webbing and a box-stitch attachment method that matches or exceeds the original hardware mounting strength.
Base Plate and Foot Repair

The bag base and its integrated feet or skids endure constant abrasion from contact with the ground, golf cart surfaces, and range mat edges. Base damage is perhaps the most inevitable form of golf bag wear, occurring on every bag regardless of quality or price point. However, base repairs and protective measures can significantly extend the time between replacements and prevent base damage from progressing into structural failures that compromise the bag's ability to stand upright.
Repairing Worn Base Materials
For rubber or plastic base plates that have worn thin but not broken through completely, apply a layer of flexible polyurethane adhesive such as Shoe Goo to build up the worn area to its original thickness. Clean the base thoroughly, apply the adhesive in thin layers allowing each to cure before adding the next, building up the material gradually until the worn area matches the surrounding thickness. This repair restores the base to functional condition and provides additional abrasion resistance in the repaired area.
Replacing Base Feet and Skids
Individual rubber feet that have worn through or fallen off can be replaced by removing any remaining adhesive residue, cleaning the mounting surface with alcohol, and bonding new feet using a high-strength flexible adhesive designed for plastic-to-fabric bonding. Position the new feet precisely in the original locations to maintain the bag's designed stability and standing angle. For bags with molded base plates that have cracked or broken completely, contact the bag manufacturer for replacement base components if available, or consider having a custom replacement fabricated from durable ultra-high-molecular-weight polyethylene material that provides exceptional abrasion resistance and impact strength for extended service life.
Stand Mechanism Maintenance and Repair

The retractable stand mechanism on stand bags represents one of the most complex mechanical systems in golf bag design, incorporating springs, hinges, locking mechanisms, and leg assemblies that must function reliably through thousands of deployment and retraction cycles. Stand mechanism problems range from simple maintenance issues that any golfer can address to complex mechanical failures requiring professional service or component replacement.
Common Stand Problems and Solutions
The most common stand problem is failure to deploy or retract smoothly, typically caused by debris accumulation in the leg channels, worn pivot points, or weakened return springs. Begin troubleshooting by thoroughly cleaning all visible mechanism components with compressed air and a soft brush, removing accumulated dirt, grass, and sand that creates friction and obstruction. Lubricate all pivot points and sliding surfaces with a light silicone spray, working the legs through several full deployment and retraction cycles to distribute the lubricant throughout the mechanism. If smooth operation is not restored after cleaning and lubrication, inspect the springs for visible damage or fatigue, and check pivot bushings for wear that creates excessive play in the leg joints.
Spring Replacement and Adjustment
Stand springs can lose tension over years of use, causing the legs to deploy sluggishly or fail to achieve the designed standing angle. Some stand mechanisms allow spring tension adjustment through a simple screw or bolt at the spring anchor point. Consult your bag's documentation or contact the manufacturer for adjustment specifications. If springs have broken or lost tension beyond adjustment capability, replacement springs are available from the manufacturer or specialty golf bag parts suppliers. Spring replacement typically requires partial disassembly of the stand mechanism and should be performed carefully with attention to the spring orientation and anchor points documented through photographs during disassembly.
By mastering these DIY repair techniques, you extend the useful life of your golf bag significantly, protect your investment in quality equipment, and develop the confidence to address any repair challenge that arises during your bag's service life. Our manufacturing team is available for technical guidance on repair questions through our website or WhatsApp at plus 8617750020688, and we can supply genuine replacement parts for bags manufactured in our facility.
Frequently Asked Questions
What repairs can I do myself on a golf bag?
Most fabric tears, seam separations, strap adjustments, zipper slider replacements, and base wear can be repaired at home with basic sewing skills and the right materials. Complex structural damage to frames or stand mechanisms may require professional assistance.
What type of thread should I use for golf bag repairs?
Use bonded nylon or polyester thread rated for heavy-duty sewing. Standard cotton thread lacks the strength for golf bag materials and will break under stress. Thread weight should be Tex 40 or heavier for structural repairs on load-bearing seams and attachment points.
Can I patch a golf bag without sewing?
Yes, adhesive-backed nylon patches and fabric glue provide effective temporary repairs for small tears and holes. For permanent repairs on load-bearing areas, sewing is recommended as adhesive bonds can fail under repeated flexing and temperature changes.
How do I fix a golf bag strap that is pulling away from the bag?
Remove the bag contents, clean the attachment area, and re-sew using heavy-duty bonded nylon thread with a box-stitch pattern that distributes stress across a wider area. Reinforce the repair with a fabric patch on the interior side for added strength.
Is it worth repairing an old golf bag or should I buy new?
Quality golf bags with durable frames and functional dividers are worth repairing even after significant cosmetic damage. Repair costs are typically twenty to fifty dollars in materials, compared to several hundred for a comparable replacement bag.
How do I fix a golf bag stand that no longer locks?
Stand lock failures are typically caused by worn spring mechanisms or debris in the locking channel. Disassemble the stand mechanism, clean all components, inspect springs for fatigue, and replace worn parts. Contact the manufacturer for replacement mechanism components.
What fabric glue works best for golf bag repairs?
Look for adhesives specifically formulated for flexible fabrics such as Gear Aid Fabric Glue or Tear-Aid patches. These products maintain flexibility after curing and bond effectively to nylon, polyester, and canvas fabrics commonly used in golf bag construction.
Ready to Start Your Custom Golf Bag Project?
Partner with a BSCI & ISO 9001:2015 certified factory producing 200,000+ premium golf bags annually. MOQ just 100 pieces.
Get a Free Quote Today