Golf Bag Sampling Process: Complete Step-by-Step Guide for 2026
Table of Contents
- Introduction: Why the Sampling Process Determines Your Product Success
- Creating a Golf Bag Tech Pack That Gets Results
- The Prototype Sample: First Physical Realization
- Revision Rounds: Refining Toward Perfection
- The Pre-Production Sample: Your Production Blueprint
- Timeline Management and Cost Optimization
- Common Sampling Mistakes and How to Avoid Them
- Best Practices for Efficient Sample Development
Introduction: Why the Sampling Process Determines Your Product Success
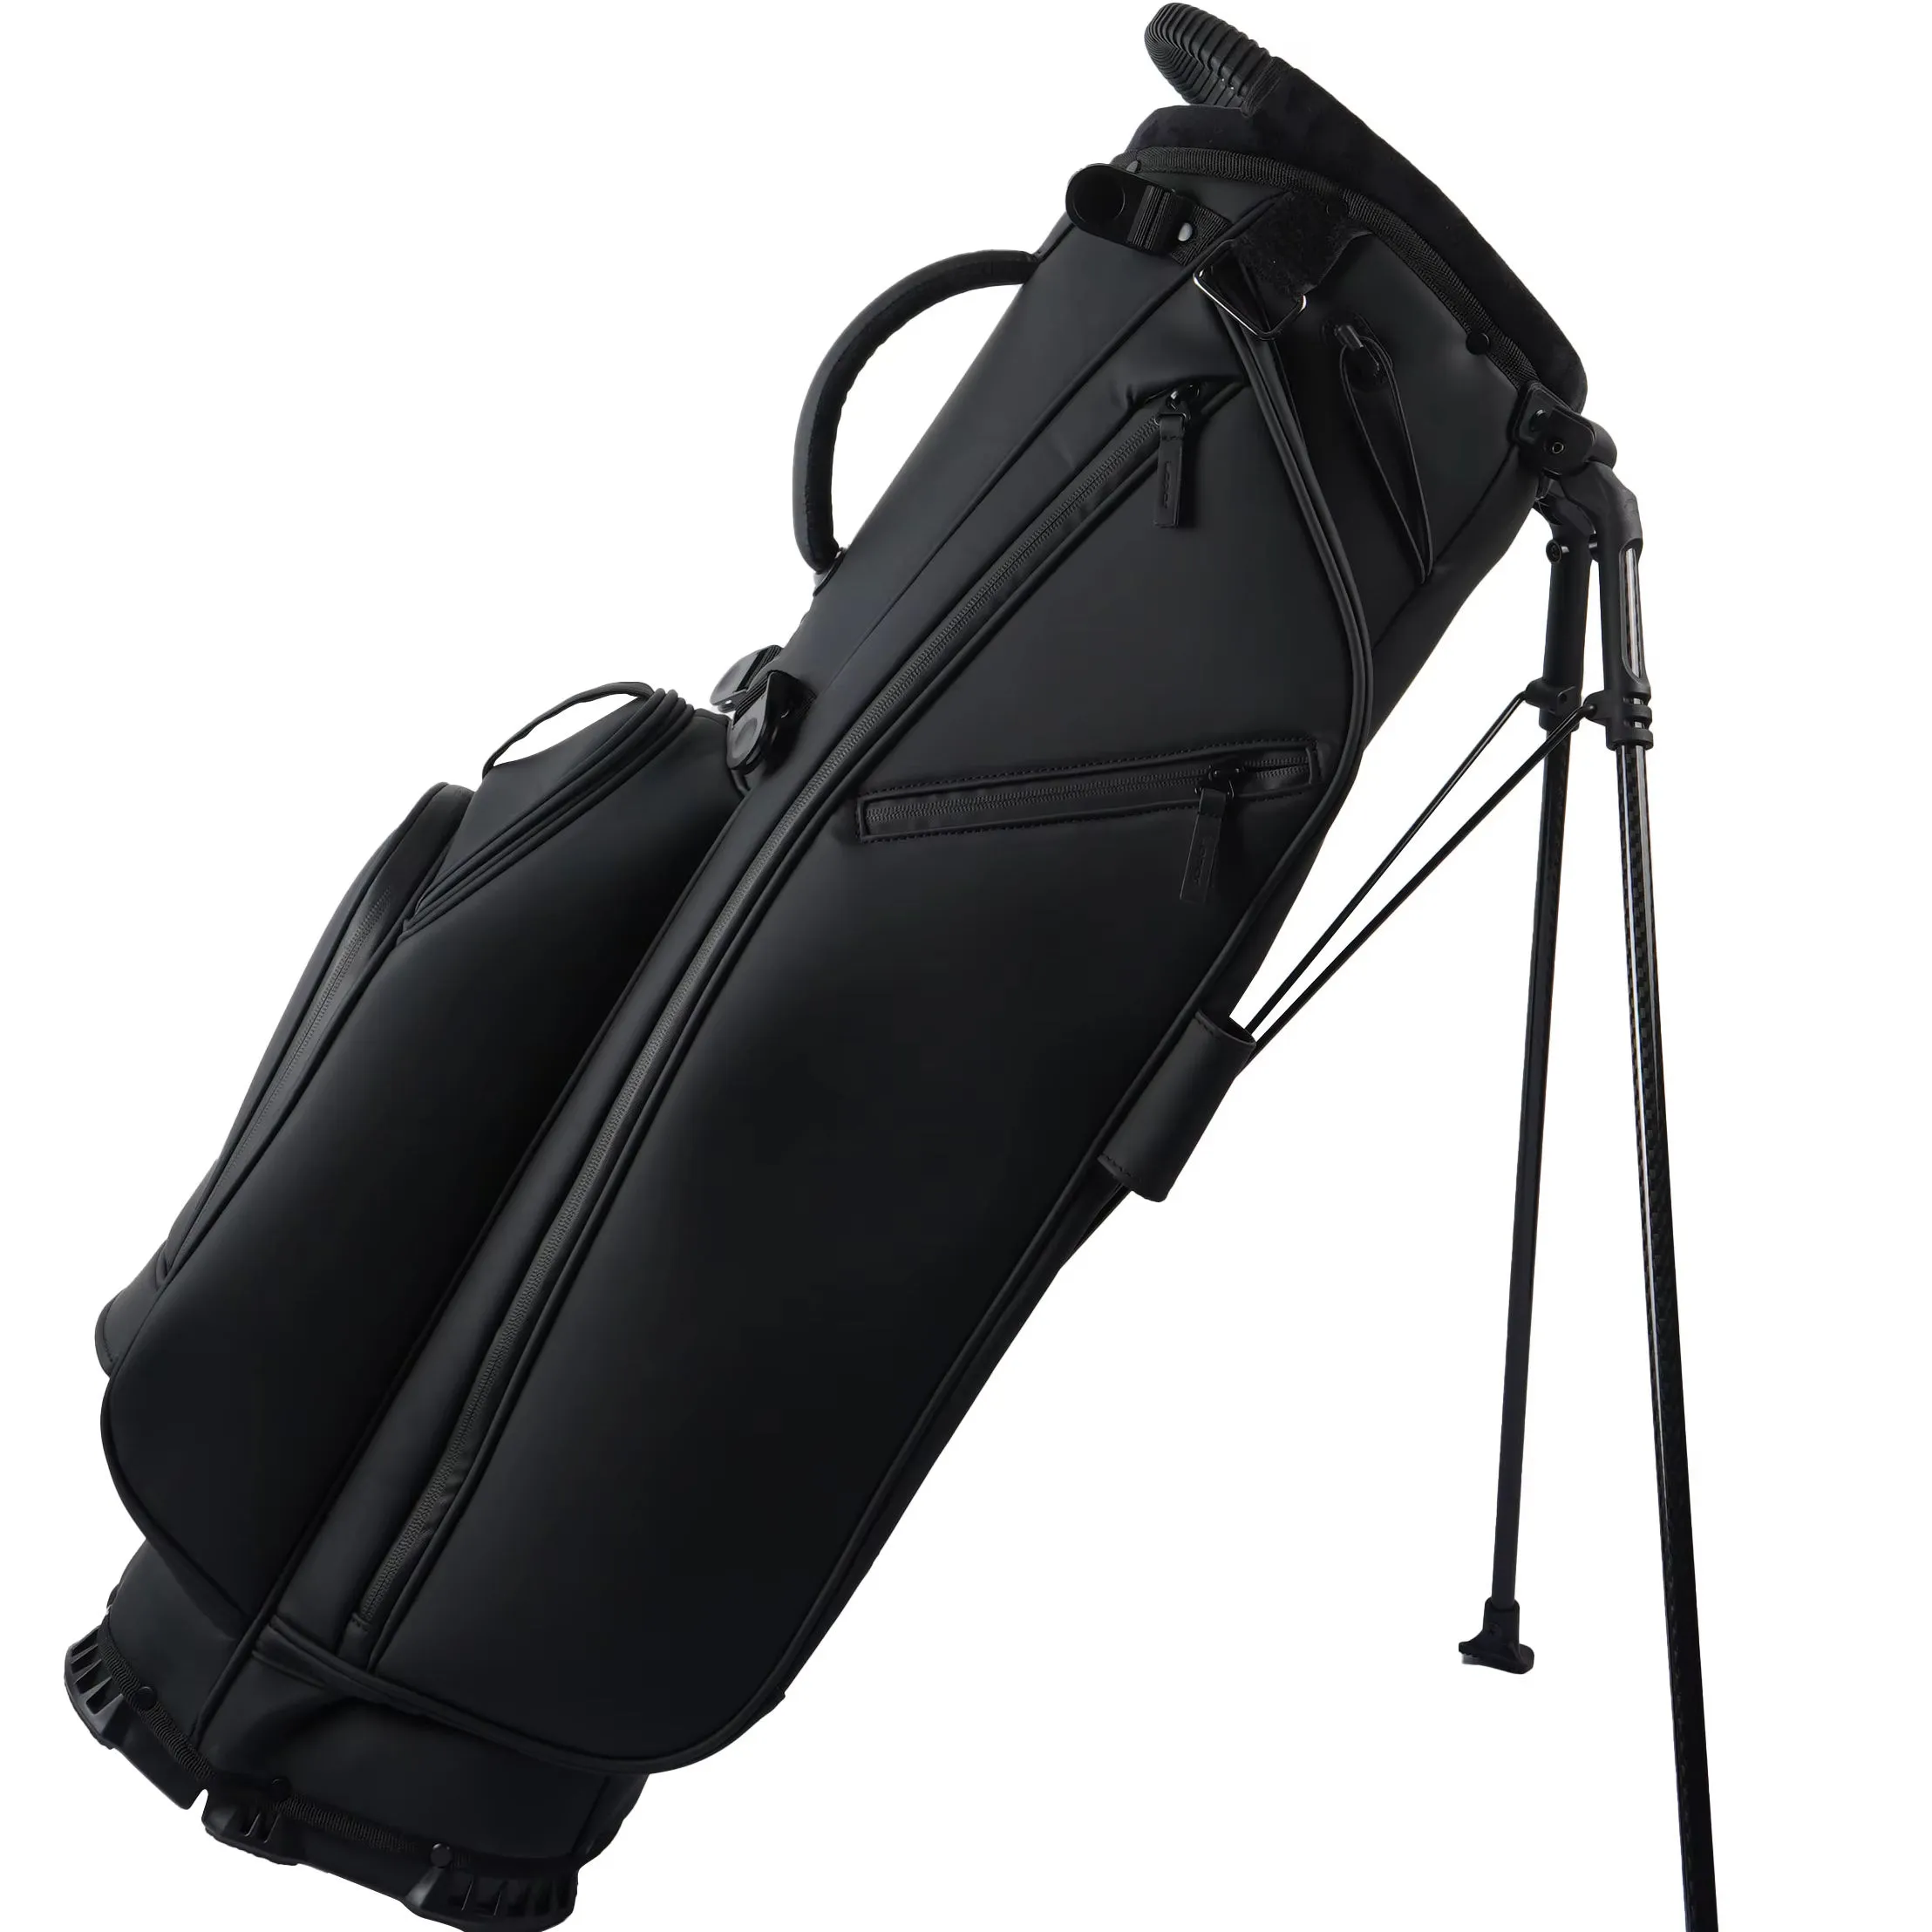
The sampling process is where golf bag concepts transition from abstract ideas into tangible products that can be evaluated, refined, and ultimately approved for mass production. It is the single most important phase in the entire product development cycle, and getting it right has a disproportionate impact on your final product quality, production timeline, and overall project cost. A well-executed sampling process prevents expensive production mistakes, ensures stakeholder alignment, and establishes the quality benchmark that governs every unit manufactured.
In 2026, the golf bag sampling process has become more sophisticated than ever. Advanced digital prototyping tools, faster communication channels, and improved material availability have compressed timelines, but the fundamental principles remain unchanged: create a physical sample, evaluate it against specifications, document required changes, produce a revised sample, and repeat until the sample perfectly matches your expectations. Each iteration builds confidence that the factory understands your requirements and can produce consistent quality at scale.
This comprehensive guide walks you through every stage of the golf bag sampling process from initial tech pack creation through final pre-production sample approval. Drawing on our experience developing samples for over 500 custom golf bag projects annually, we share specific timelines, cost benchmarks, common pitfalls, and proven strategies that help brands navigate this critical phase efficiently. Whether you are developing your first golf bag or launching your twentieth product line, the sampling framework in this guide provides the structure and detail needed for successful outcomes.
Creating a Golf Bag Tech Pack That Gets Results
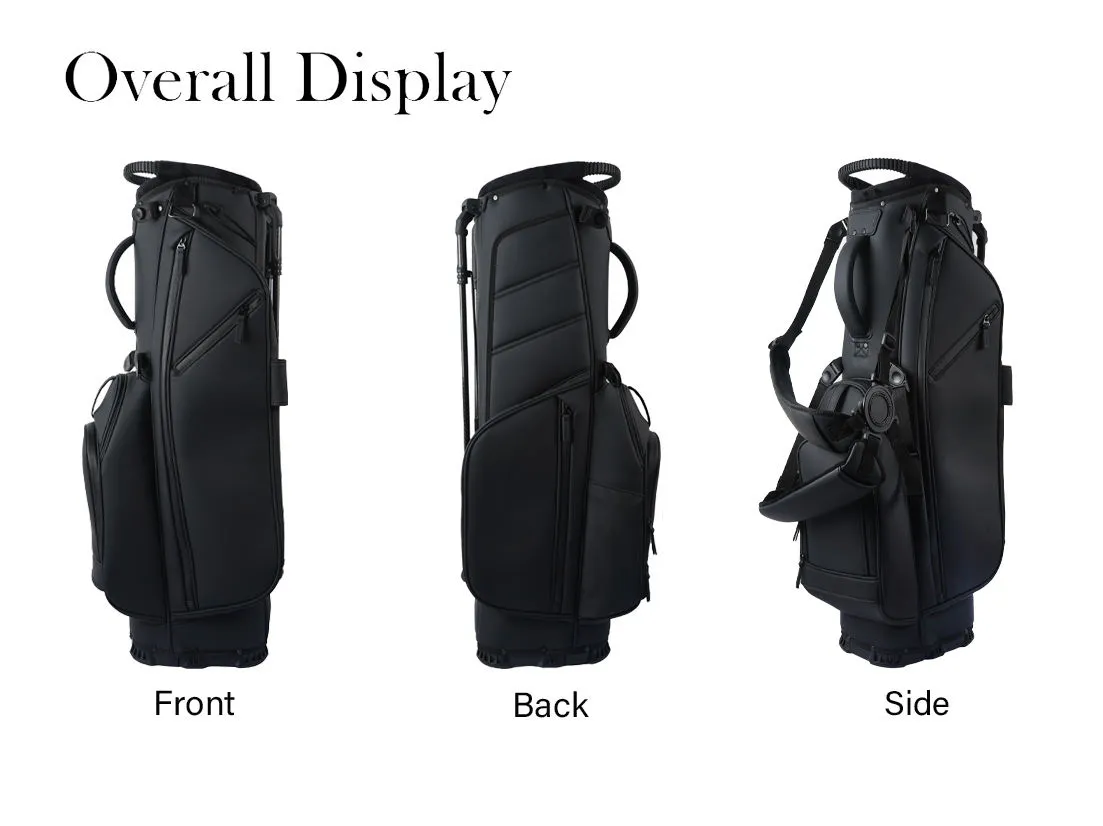
The tech pack is the blueprint that guides every sampling decision. A comprehensive, well-organized tech pack reduces sampling iterations by preventing misunderstandings, while a vague or incomplete tech pack guarantees multiple costly revision rounds. Investing time in tech pack development pays dividends throughout the entire sampling and production process.
Essential Tech Pack Components
A professional golf bag tech pack should include eight core sections. First, technical drawings showing all views (front, back, left side, right side, top down, and interior) with exact dimensions marked in both millimeters and inches. Second, a bill of materials listing every fabric, component, and hardware piece with specifications including material type, weight, finish, color code, and supplier reference. Third, construction details specifying stitch types (lockstitch, chainstitch, or overlock), stitch density (stitches per inch), seam allowances, and reinforcement requirements at stress points. Fourth, color and material references using Pantone codes for fabrics and trim, physical swatches attached to the tech pack, and finish specifications (matte, glossy, textured). Fifth, logo artwork in vector format with placement coordinates, size specifications, and application method (embroidery, screen print, heat transfer, or woven label). Sixth, functional requirements including zipper specifications, stand mechanism deployment force, strap adjustment range, and pocket access ergonomics. Seventh, testing requirements listing applicable standards for fabric strength, zipper durability, seam strength, and colorfastness. Eighth, packaging specifications including polybag dimensions, carton size, bag protection method, and labeling requirements.
Common Tech Pack Mistakes
The most frequent tech pack error is providing only reference images without technical specifications. While images communicate the general aesthetic, they cannot convey exact dimensions, material weights, or construction methods. Factories interpreting reference images alone will make assumptions about every unspecified detail, and those assumptions frequently diverge from your expectations.
Another common mistake is failing to specify tolerances. Stating a bag should be 36 inches tall does not communicate whether plus or minus a quarter inch is acceptable. Without tolerance specifications, quality inspectors have no objective criteria for accepting or rejecting dimensional accuracy. Industry-standard dimensional tolerance for golf bags is plus or minus 5 millimeters for overall dimensions and plus or minus 2 millimeters for pocket placement and feature positioning.
Tech Pack Format and Communication
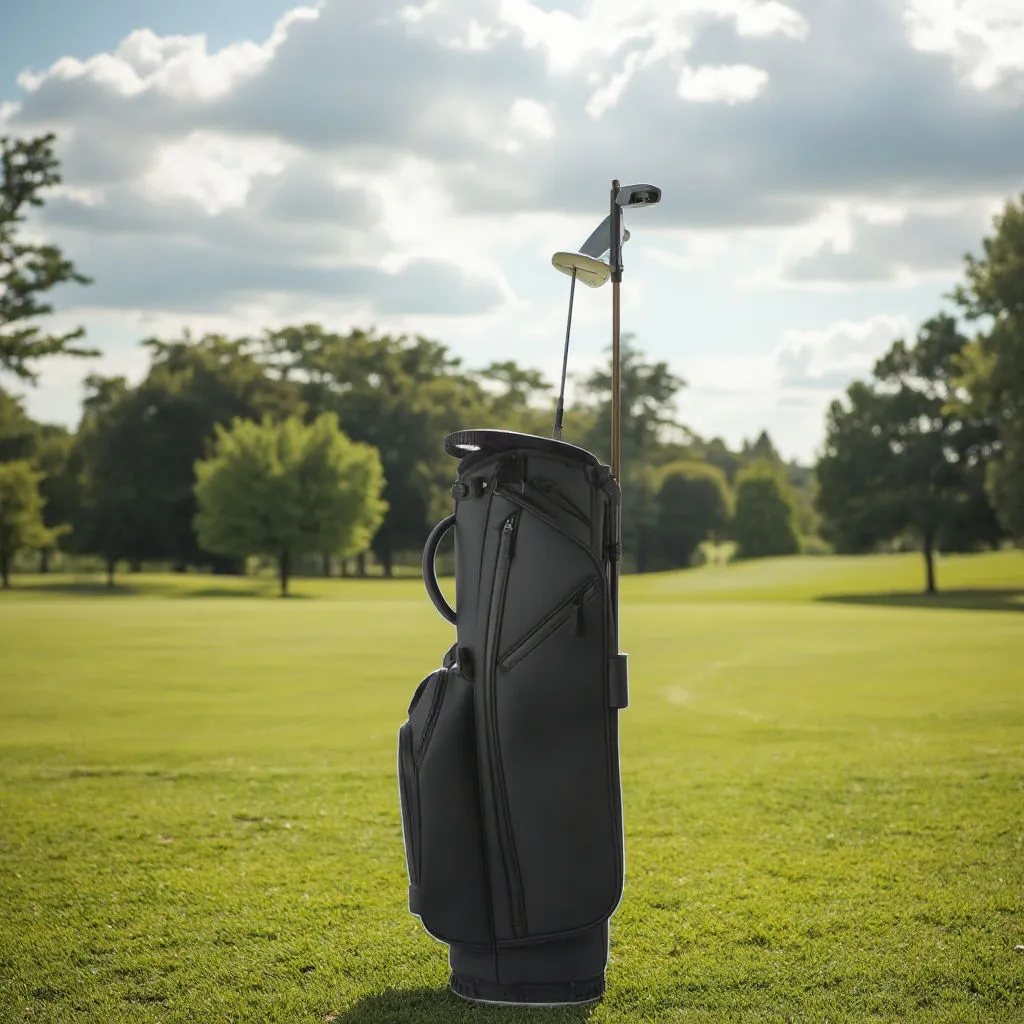
Modern tech packs are typically delivered as PDF documents supplemented by physical material swatches and logo artwork files. Some brands provide tech packs through cloud-based PLM (Product Lifecycle Management) platforms that enable real-time collaboration, version control, and comment tracking. Regardless of format, ensure the tech pack is organized logically, uses consistent terminology, and includes revision history tracking so that changes between sample rounds are clearly documented.
The Prototype Sample: First Physical Realization
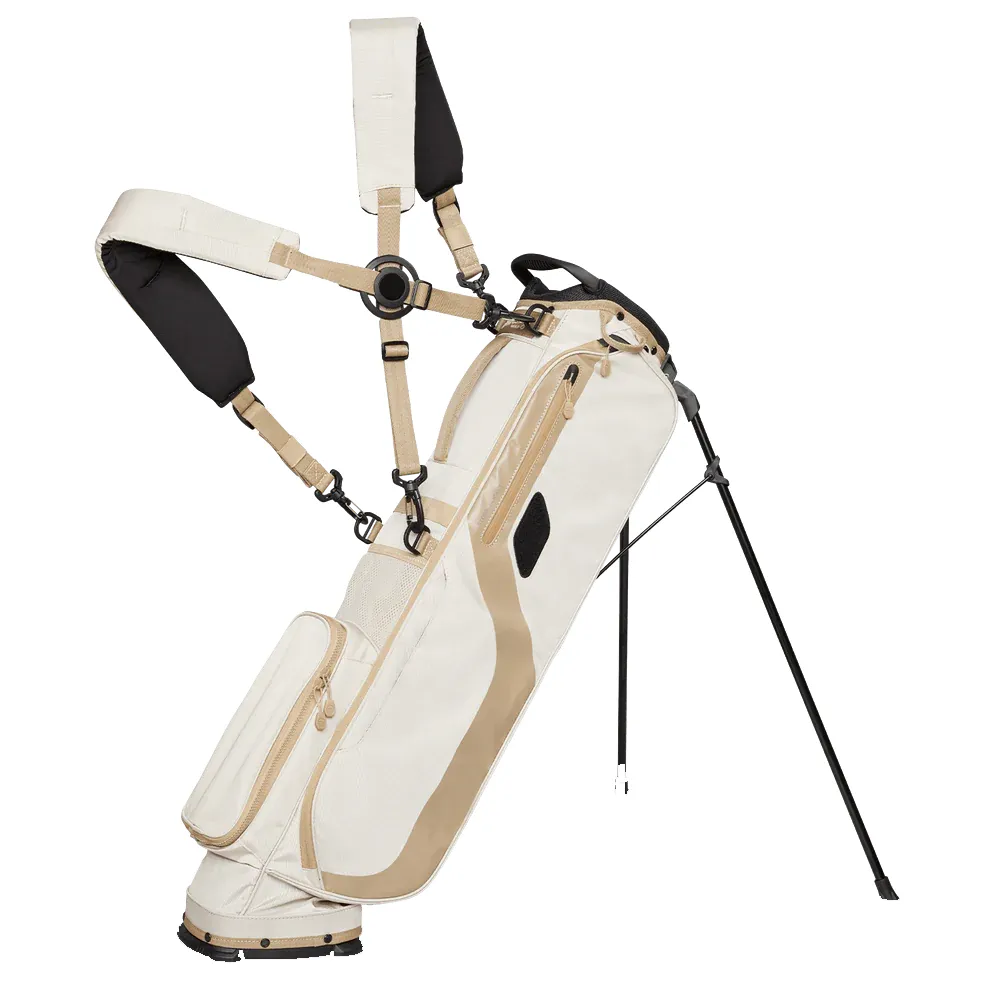
The prototype sample, sometimes called the first sample or development sample, represents the first time your design becomes a physical object. This stage is exciting but also where expectations must be managed carefully. The prototype is a learning tool, not a finished product. Its purpose is to reveal whether the design translates successfully from paper to three dimensions, whether proportions look correct, whether pocket placements work functionally, and whether construction methods achieve the desired aesthetic.
What to Expect from a First Prototype
A first prototype will generally capture approximately 70 to 80 percent of the final design intent. Expect that minor adjustments will be needed in areas such as proportions, pocket positioning, strap attachment points, and overall visual balance. The prototype reveals issues that are impossible to detect on paper: a pocket that looks proportional in the drawing may feel too small when accessed with a gloved hand, a strap attachment point that seems logical on paper may create an uncomfortable carry angle, or a color combination that works digitally may clash when viewed on physical materials under natural light.
First prototype materials may differ from final specifications if the exact fabric is not yet available in the required color or weight. Factories typically substitute similar materials for prototypes to enable faster development while waiting for custom-dyed fabrics. Ensure that the factory clearly identifies all material substitutions so that you evaluate the prototype understanding which elements will change in subsequent rounds.
Evaluating the Prototype
When the prototype arrives, conduct a systematic evaluation covering six dimensions. First, dimensional accuracy: measure every critical dimension against the tech pack specifications and document deviations with photographs. Second, material assessment: evaluate the hand feel, weight, and visual appearance of all materials against your expectations. Third, construction quality: examine all stitching for consistency, check seam allowances, and verify that reinforcement is present at stress points. Fourth, functional testing: load the bag with golf clubs to assess balance, test all zippers for smooth operation, deploy the stand mechanism repeatedly to check action and stability, adjust shoulder straps through their full range, and evaluate all pocket access points. Fifth, aesthetic review: assess overall visual balance, color coordination, logo placement, and branding impact from multiple angles. Sixth, comparison to reference: if you provided a reference bag, compare the prototype directly to identify all differences.
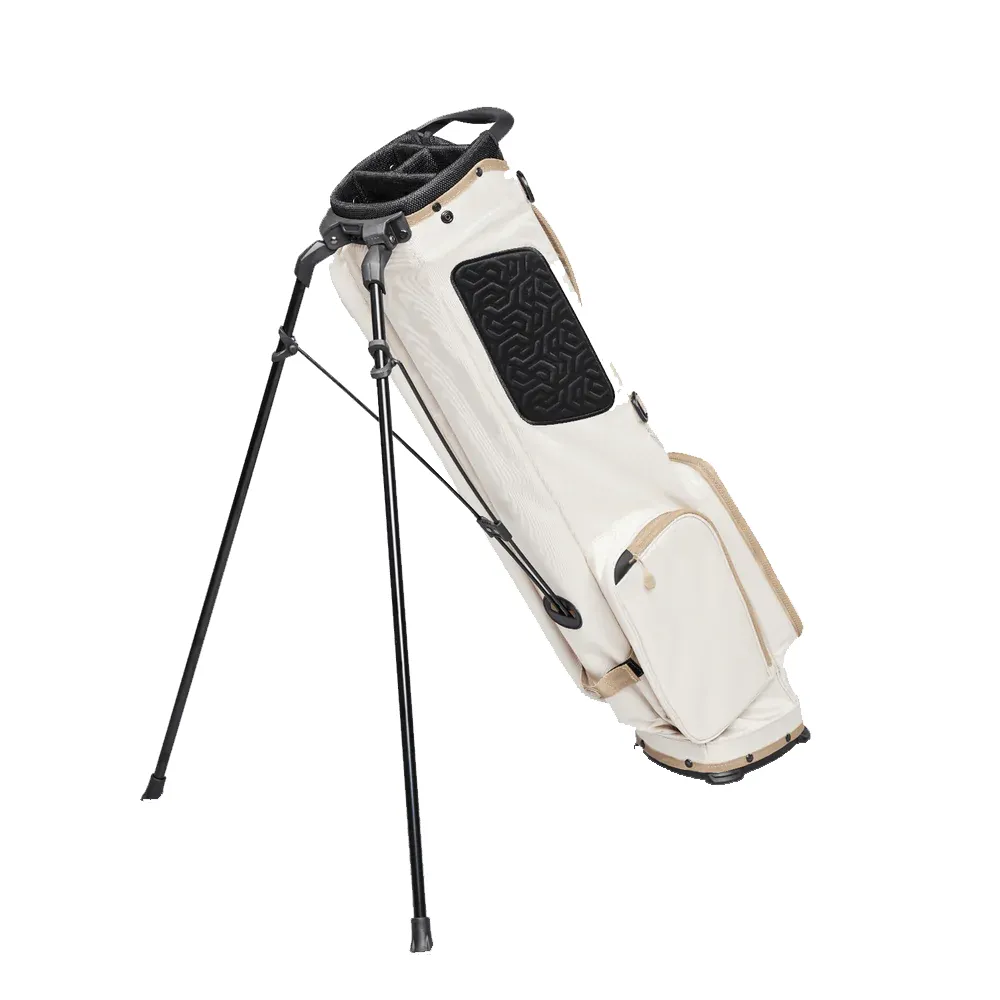
Document every finding with written notes, photographs, and marked-up images showing specific areas requiring change. Organize feedback into categories: critical changes that must be addressed, preferred changes that should be implemented if straightforward, and minor observations for factory awareness. This structured feedback approach helps the factory prioritize modifications efficiently.
Revision Rounds: Refining Toward Perfection
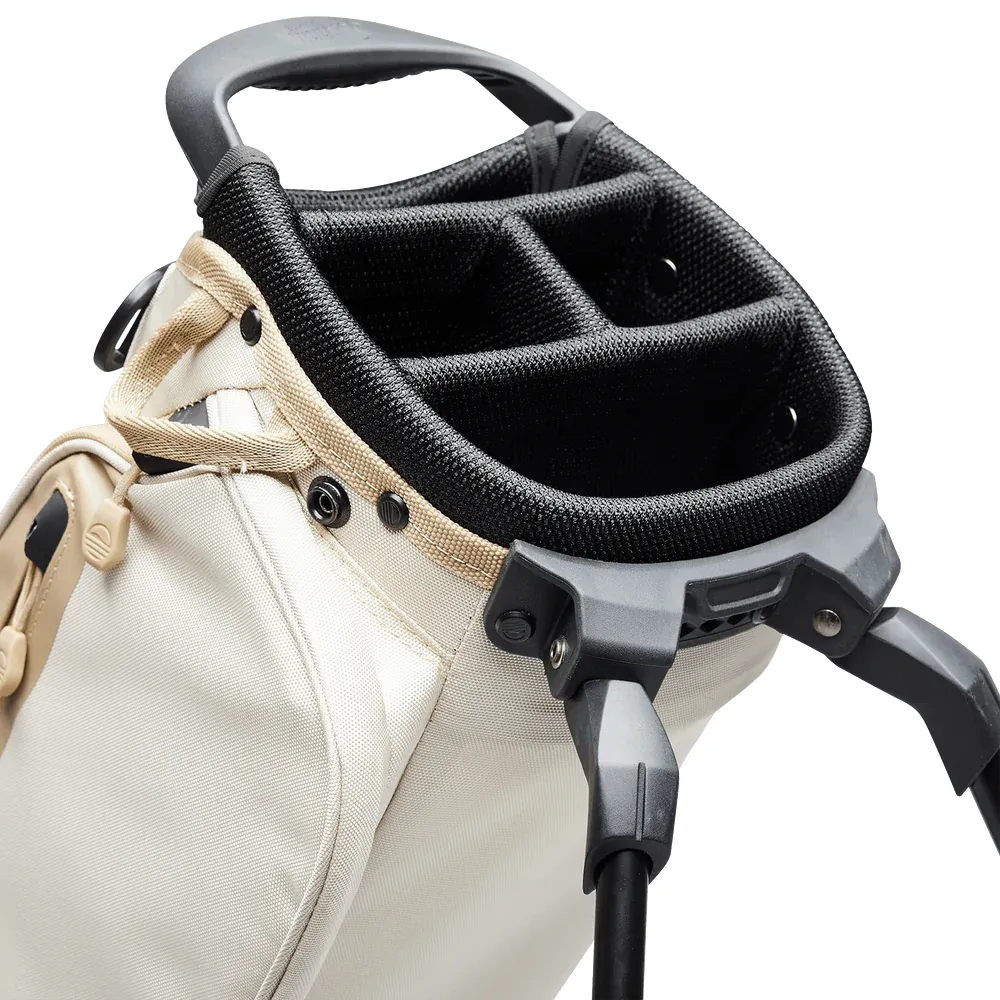
Revision rounds are where the prototype evolves toward the final product. Each revision should address specific feedback from the previous sample evaluation, with changes documented and tracked to ensure nothing falls through the communication gaps. Effective revision management requires clear communication, systematic change tracking, and realistic timeline expectations.
Managing Revisions Effectively
The most efficient revision process follows a structured communication protocol. After evaluating each sample, prepare a detailed revision request document listing every change in priority order with clear descriptions and visual references. Number each change request for easy tracking and require the factory to confirm understanding and feasibility before proceeding. This tracking system prevents changes from being overlooked or misinterpreted across language and cultural barriers.
Typical revision categories for golf bags include dimensional adjustments (shortening or lengthening the bag body, repositioning pockets, adjusting divider height), material changes (switching to different fabric weights, changing lining materials, upgrading hardware), construction modifications (adding reinforcement panels, changing seam construction, adjusting padding thickness), and aesthetic refinements (color adjustments, logo repositioning, trim changes). Each category carries different implications for timeline and cost.
Timeline for Revision Samples
Revision samples typically require 7 to 12 days for production depending on the scope of changes. Minor changes such as logo repositioning or trim color swaps may be completed in 5 to 7 days. Structural modifications including dimensional changes or construction method revisions require 10 to 15 days because they may involve pattern adjustments, new cutting dies, or process modifications. Changes requiring custom materials such as newly dyed fabrics or custom-molded plastic components add material lead times of 15 to 30 days to the sampling timeline.
How Many Revision Rounds Are Normal?
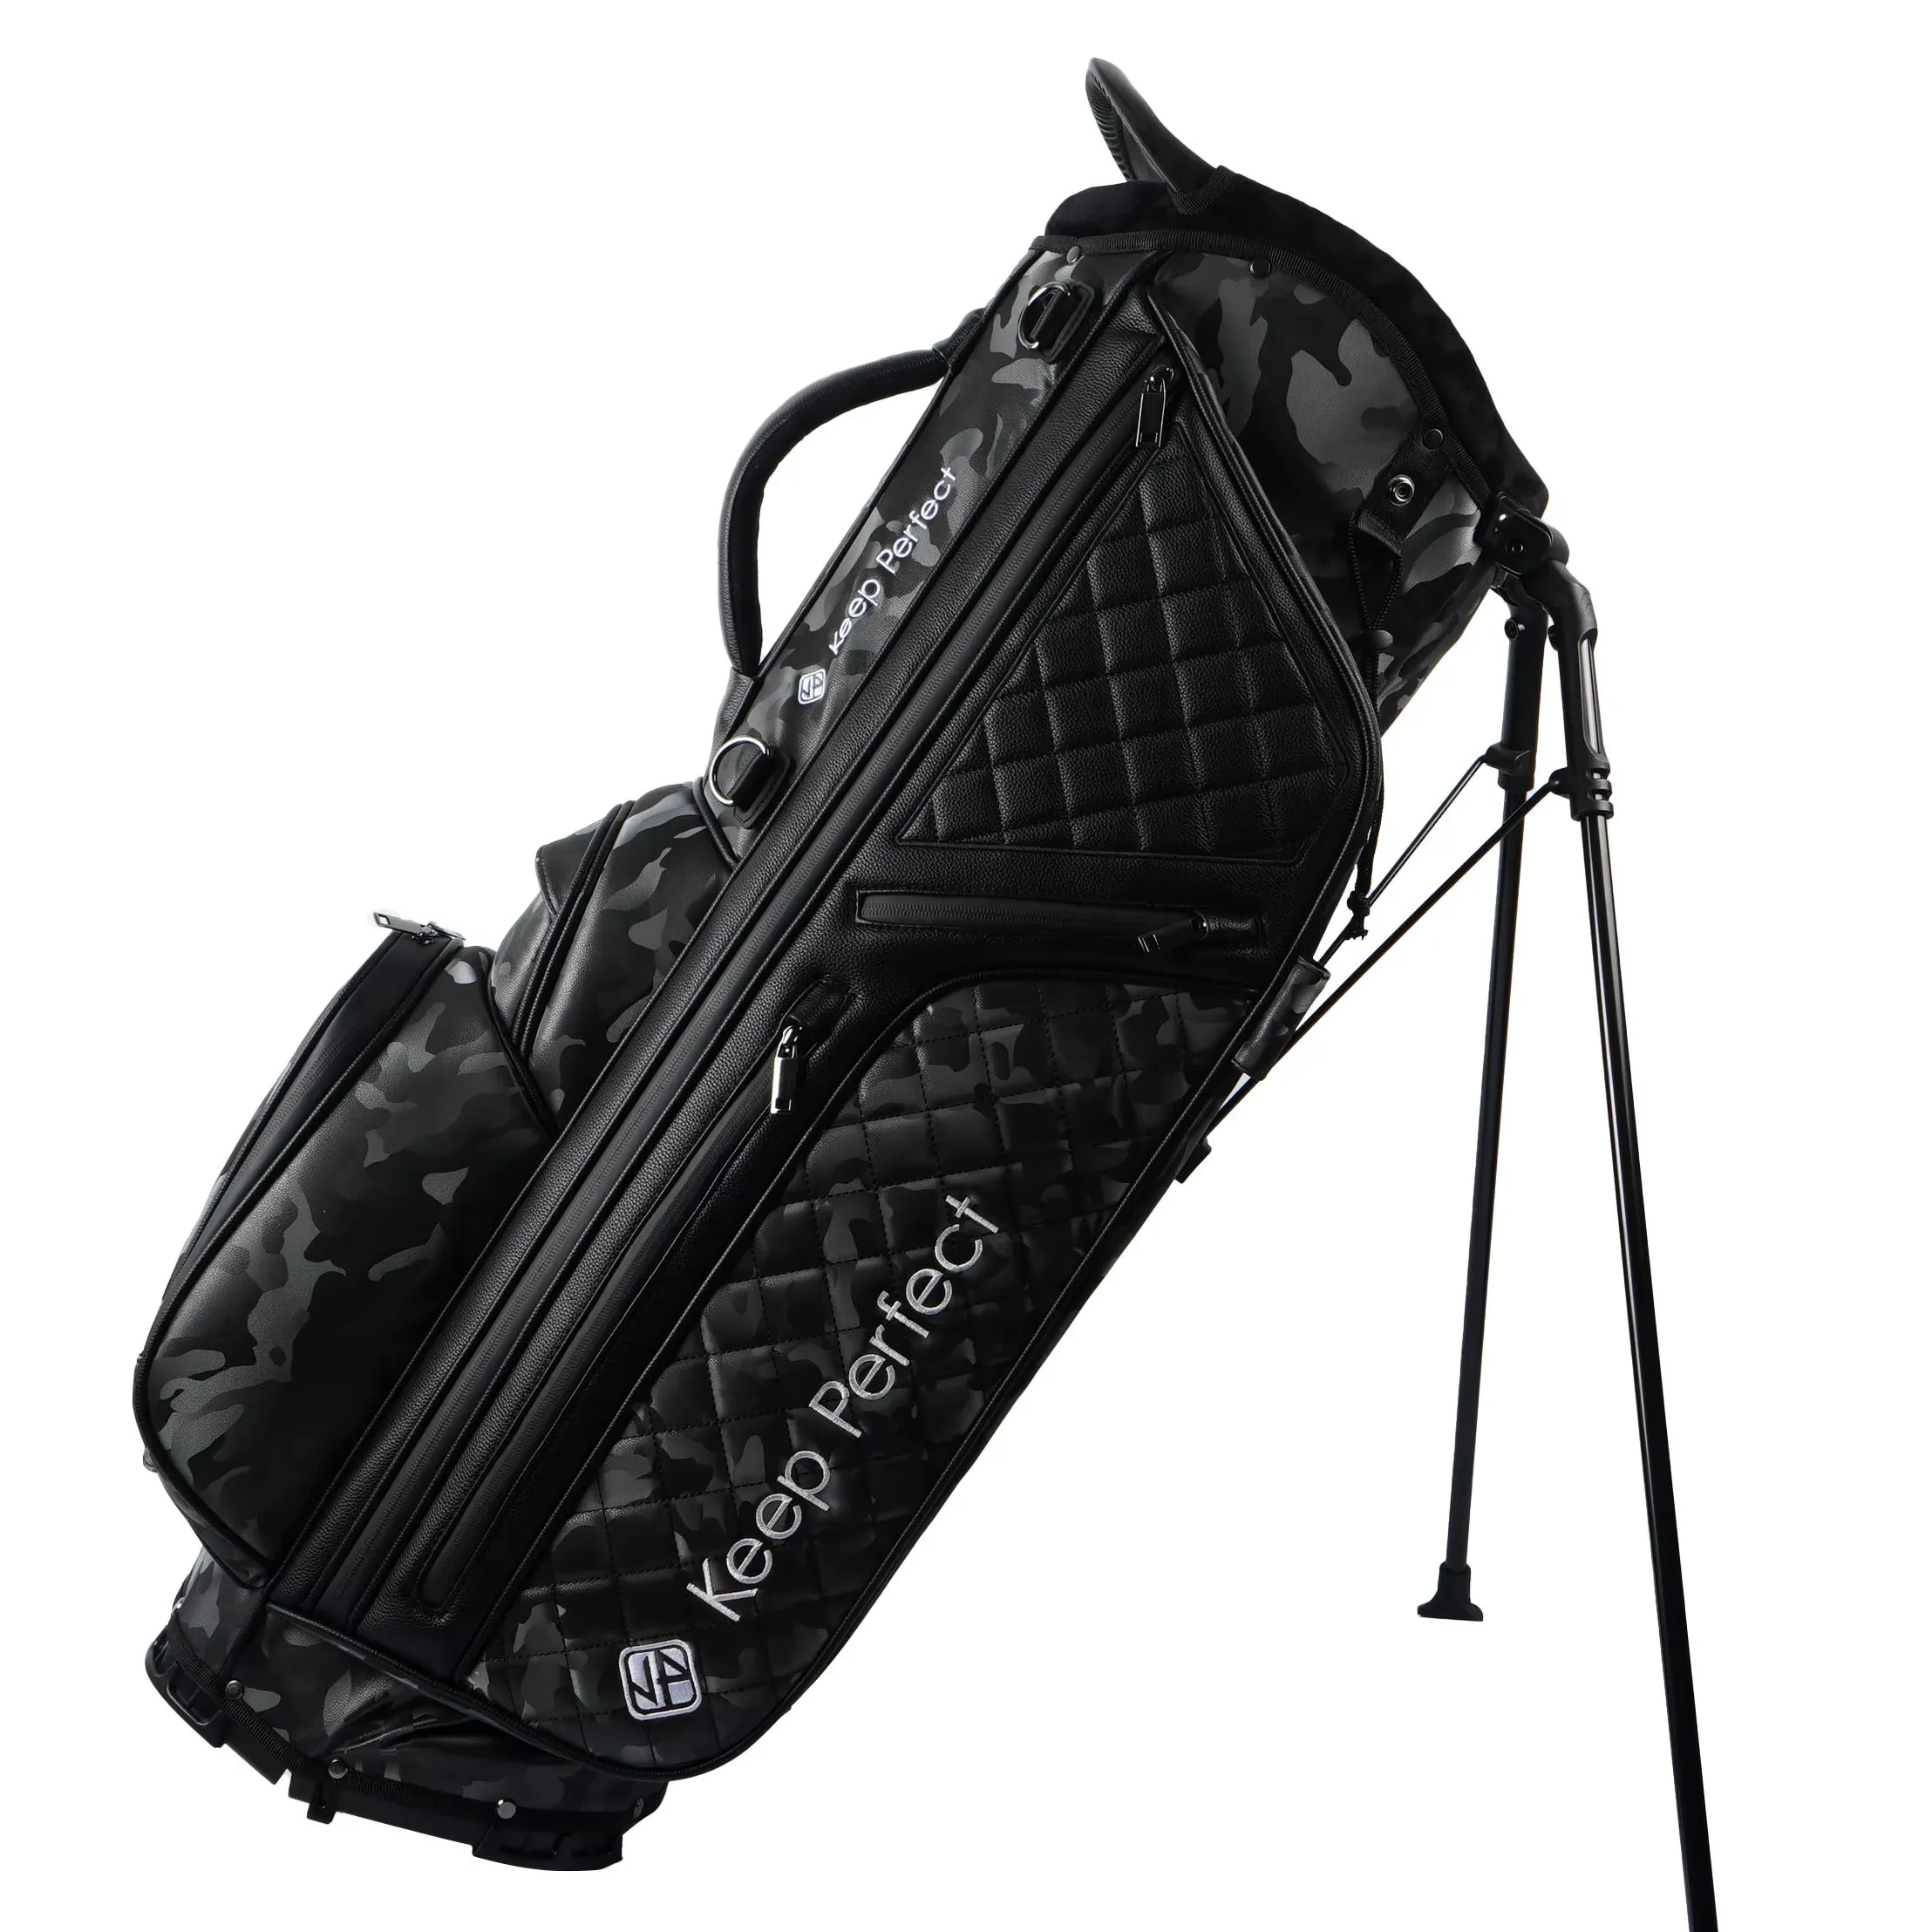
Two to three revision rounds represent the normal range for most golf bag projects. Simple designs with clear specifications and experienced development teams often achieve approval in two rounds. Complex designs with multiple custom components, novel construction methods, or first-time brand clients typically require three to four rounds. Projects requiring more than four revision rounds usually indicate fundamental communication issues, unrealistic design expectations, or factory capability gaps that should be addressed before proceeding to production.
The Pre-Production Sample: Your Production Blueprint
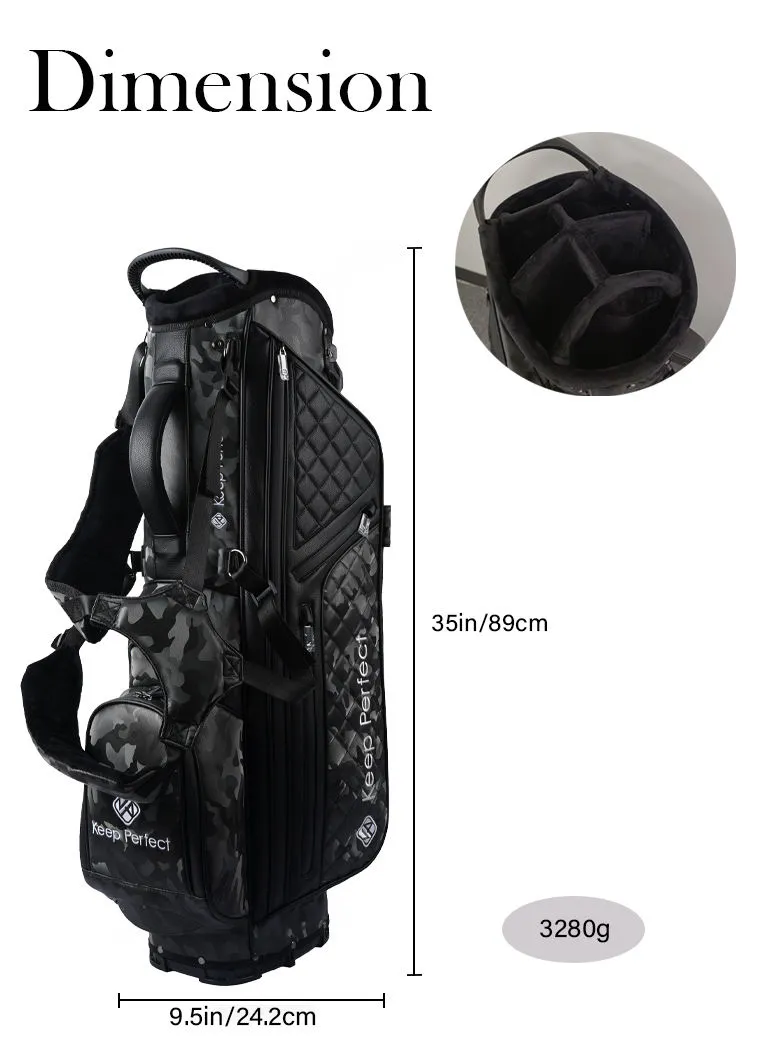
The pre-production sample (PP sample) is the most important sample in the entire development process. It must be manufactured using exact production materials, components, colors, and methods. The PP sample serves as the quality benchmark for the entire production run and the reference point for all quality inspections during bulk manufacturing. No PP sample should be approved until it perfectly matches your requirements in every detail.
PP Sample Requirements
Every element of the PP sample must represent production conditions exactly. Fabrics must come from the same production lot that will be used for bulk manufacturing. Hardware must be sourced from the confirmed suppliers. Colors must match approved lab dip samples. Construction methods must match what will be used on the production line. Logo application must use the confirmed technique at the approved size and placement. Even thread color and type must match production specifications.
Request that the factory produce at least two PP samples: one for your records and one retained at the factory as the production reference sample. Both samples should be signed and dated by both parties, creating a binding physical reference that resolves any future quality disputes. Photograph both samples from multiple angles and store images alongside your tech pack documentation.
PP Sample Approval Process
PP sample approval should follow a formal process. Evaluate the sample against every requirement in the tech pack, test all functional elements, measure all critical dimensions, and confirm material authenticity through visual and tactile inspection. Once satisfied, issue a formal written approval referencing the specific sample by date and serial number. The approval authorizes the factory to begin bulk production and establishes that all production units must match the approved PP sample.
If the PP sample does not meet requirements, document deficiencies clearly and request corrective action. Do not approve a PP sample with reservations or conditional acceptance language that could create ambiguity later. Either the sample meets requirements and receives full approval, or it does not and requires revision. This clear standard protects both parties and prevents quality disputes during production.
Timeline Management and Cost Optimization
Understanding the sampling timeline enables realistic planning and helps identify opportunities for compression without sacrificing quality. The typical sampling timeline encompasses multiple stages with specific durations and dependencies.
Standard Sampling Timeline
| Stage | Duration | Key Activities | Dependencies |
|---|---|---|---|
| Tech Pack Finalization | 5-10 days | Specification completion, material sourcing confirmation | Client input and approval |
| Material Procurement | 10-20 days | Fabric dyeing, hardware ordering, component sourcing | Custom material requirements |
| Prototype Production | 10-15 days | Pattern making, cutting, sewing, assembly | Material availability |
| Sample Shipping | 3-7 days | Express courier international delivery | Destination country |
| Evaluation and Feedback | 3-7 days | Inspection, testing, revision request preparation | Client responsiveness |
| Revision Sample Production | 7-15 days per round | Pattern adjustments, re-sewing, re-assembly | Scope of changes required |
| Pre-Production Sample | 7-10 days | Production-line sample with exact materials | All previous approvals complete |
| PP Sample Approval | 3-5 days | Final evaluation and written approval | Client review speed |
Strategies for Timeline Compression
Several strategies can reduce sampling timelines by 20 to 30 percent without compromising quality. First, use stock materials for initial prototypes rather than waiting for custom-dyed fabrics. The visual and functional evaluation can proceed with stock materials while custom colors are being developed in parallel. Second, consolidate feedback into comprehensive revision requests rather than sending changes incrementally. Each separate change communication triggers a new production queue entry and adds 2 to 3 days of processing time. Third, maintain regular communication through instant messaging platforms rather than relying solely on email, reducing response times from days to hours.
Cost Management During Sampling
Sampling costs accumulate across multiple rounds and can represent a significant investment for new product development. Understanding the cost structure helps manage budgets effectively. Sample costs break down into sample-making labor (typically 3 to 5 times the per-unit production labor cost due to smaller batch inefficiency), materials (at sample quantity, material costs are 20 to 40 percent higher than bulk pricing), shipping (express courier for international delivery), and any custom tooling required for prototype molds or dies.
Common Sampling Mistakes and How to Avoid Them
Experience working with brands at every stage of development reveals recurring sampling mistakes that create unnecessary delays, cost overruns, and frustration. Awareness of these pitfalls enables proactive avoidance.
Insufficient Specification Detail
The most costly sampling mistake is providing insufficient specification detail. Every unspecified detail becomes an assumption, and assumptions frequently produce results that require expensive correction. Specify every element including thread color, stitch density, seam allowance width, reinforcement placement, padding thickness, and zipper pull style. The time invested in comprehensive specification development saves multiples of that time in revision rounds and re-sampling costs.
Inconsistent Feedback
Providing contradictory feedback between sample rounds creates an impossible situation for the factory. If round one feedback requests moving a pocket lower and round two feedback asks for the pocket to move higher, the factory loses confidence in the specification direction. Ensure that feedback is internally consistent and that all stakeholders within your organization review and approve revision requests before submission.
Skipping the PP Sample
Some brands attempt to accelerate timelines by approving production based on the revision sample rather than requesting a dedicated pre-production sample. This shortcut is dangerous because revision samples are often made in the sampling workshop by senior technicians rather than on the production line by regular production workers. The PP sample proves that the factory can replicate the approved design under normal production conditions. Skipping this step transfers risk from the sampling phase to the production phase where mistakes cost dramatically more to correct.
Best Practices for Efficient Sample Development
The following best practices, distilled from hundreds of successful sampling projects, provide a framework for efficient sample development that balances thoroughness with speed.
Establish a Sample Tracking System
Maintain a detailed tracking spreadsheet or project management board for each development project. Track every sample round with dates sent, dates received, status, pending actions, and next steps. Photograph every sample from standardized angles and store images chronologically for comparison. This system prevents confusion when multiple projects are in development simultaneously and provides clear documentation for reference during production.
Build Relationships with Sample Room Teams
The sample room team develops deeper understanding of your requirements with each project. Invest in building direct relationships with sample room technicians and pattern makers rather than communicating exclusively through sales representatives. Technical communication between people who understand construction details is more efficient and accurate than message relay through intermediaries. When possible, visit the factory during sample development to work directly with the sample team on complex design challenges.
Plan for Parallel Development
When developing multiple products simultaneously, stagger sample rounds to maximize factory resource utilization. While one product is in the evaluation phase, the factory can begin material preparation for the next product. This parallel approach reduces total project timeline by 20 to 30 percent compared to sequential development where each product waits for the previous one to complete.
Invest in Physical Reference Libraries
Build a physical reference library of approved samples, material swatches, and component samples. This library serves multiple purposes: it provides tactile reference for new design development, enables direct comparison during sample evaluation, and creates an objective standard for resolving quality disputes. Digital records supplement but cannot replace the information gained from handling physical reference materials.
The sampling process represents the foundation of every successful golf bag product. Brands that invest appropriately in thorough sampling development consistently achieve better production results, fewer quality issues, and more satisfied end customers. The framework and guidance in this guide provides the structure needed to navigate sampling efficiently while maintaining the rigorous standards that premium golf bag products demand. Our experienced sample development team is ready to support your next golf bag project from initial concept through approved pre-production sample. Contact us through our website or WhatsApp at plus 8617750020688 to begin your sampling journey.
Frequently Asked Questions
How long does the golf bag sampling process typically take?
The complete golf bag sampling process typically takes 30 to 60 days from initial tech pack submission to final approved pre-production sample. First prototypes require 10 to 15 days, revision samples take 7 to 12 days each, and pre-production samples require 7 to 10 days. Complex designs with custom molded components may extend the timeline by 15 to 30 days for tooling development.
How much do golf bag samples cost?
Golf bag sample costs range from 80 to 500 dollars per sample depending on complexity. Basic stand bag prototypes cost 80 to 150 dollars, mid-range cart bag samples cost 150 to 300 dollars, and premium tour bags with custom components cost 300 to 500 dollars. Shipping costs for international sample delivery add 30 to 80 dollars per shipment via express courier.
What information should be included in a golf bag tech pack?
A complete golf bag tech pack should include technical drawings with exact dimensions, material specifications with type and weight references, color codes using Pantone numbers, hardware specifications with supplier references, logo artwork with placement dimensions and application method, construction details including stitch types and seam allowances, packing instructions, and a bill of materials listing every component.
How many sample rounds are typically needed before production approval?
Most golf bag projects require two to four sample rounds before production approval. The first round is a prototype evaluating design and construction, the second addresses fit and function corrections, the third is a pre-production sample made with actual production materials, and a fourth round may be needed if significant changes are requested after the pre-production sample review.
Can I request modifications during the sampling process?
Yes, modifications are expected and encouraged during the sampling process. Each sample round provides an opportunity to refine dimensions, materials, construction methods, and aesthetic details. However, major design changes after the pre-production sample stage may require additional sample rounds and will extend the project timeline. Minor adjustments like color changes or logo repositioning are simpler to implement than structural modifications.
What is the difference between a prototype sample and a pre-production sample?
A prototype sample is an early-stage sample made to evaluate the overall design, fit, and function, often using available materials that may differ from final specifications. A pre-production sample is the final approval sample made with exact production materials, components, colors, and methods. The pre-production sample represents exactly what bulk production will deliver and serves as the quality benchmark for the entire production run.
Ready to Start Your Custom Golf Bag Project?
Partner with a BSCI and ISO 9001:2015 certified factory producing 200,000+ premium golf bags annually. MOQ just 100 pieces.
Get a Free Quote Today